Also, just so you're aware, this is LONG, and VERY IN-DEPTH. If you're not looking for that, you can skim for what you're looking for, or politely read it for amusement.
You should read this through the whole way once before trying anything. Some things will make sense right away, but making a quilt is like doing a puzzle, and if you see how things fit together before starting, it might make it easier!
Supplies:
Rotary Cutter
Cutting Mat
Fabric
Quilt Batting
Thread
Sewing Machine
Straight Pins
Safety Pins (optional)
Iron
I started by buying a rotary cutter and cutting mat. They're a little expensive, but a great investment. I bought the off-brand cutter, and it worked just fine for me!

To make quilt squares, I chose pre-cut fabric quarters in shades I found complementary. If you prefer, you can buy fabric off the bolts at the fabric store.

Whatever fabric you're using, before you cut it, iron it. If you don't, your squares may end up being a funny shape. Also, if you cut and then iron, you'll have TONS of tiny pieces to iron, which is a real pain. If you use the pre-cut fabric quarters, be sure to iron them all!

(I have no ironing board. Iron wherever you can!)
How you cut your squares depends on how much fabric you have and how big you want your quilt. I chose to cut my fabric into squares with sides of 5 inches. PREVIEW ALERT! You'll be using 1/4" seams, so however big you intend your squares to be when the quilt is done, cut them an entire inch bigger! (I wanted 4" squares in the completed quilt, so I cut them to 5" to work with).
There are lots of different ways to measure and cut your fabric. I tried making lines and eyeballing it, but I found it easiest to cut a 5" square from thick cardboard and cut around it with the rotary cutter. Unfortunately I couldn't take a picture of this since it takes 2 hands to do. It's basically like using a stencil.
When you're done cutting all your fabric, you're going to end up with a pile of squares. See? Aren't you glad you ironed first? I separated my squares into like piles so I can see all my choices when I'm starting to lay out the quilt.

(lovely, separated, pressed squares)
Now comes the fun part: choosing your design! You need a LARGE space. Everything will tighten up as you sew it together, but right now, things take up a lot more space.
When laying out the quilt, it's best to do it row-by-row. For this quilt, I had 16 colors and I wanted 16 rows. I used each color one time in each row to start with.

(lay them out in as straight lines as you can)
Take note: cats are NOT good helpers when making a quilt.
After you've laid out all of the squares, things will look good, but not perfect. There might be too many of one color clumped together or the same fabric right next to each other. Now is the time to move things around until they look just how you want them to.
After you do that, it's time to start pinning rows together. I like to pin the rows together the short way, so there are more rows, but they're shorter. It doesn't matter which you prefer, the practice is still the same.

(here's a row all pinned together)

(the edges are so close together you can't see them!)
As you pin together the rows, use a sticky note to label them. Start at the top and label that "Row 1," and then next down label "Row 2," and so on. This will help you keep the rows in order when you want to assemble them all together after.
[Just to clarify, you start with a bunch of squares in a grid. You pin them into rows, and sew the squares into rows. Then, (PREVIEW ALERT!) you'll sew the rows together so they look like a quilt again.]

(this was row 16)

(here are finished rows, laid out again in the same order)

(here are finished rows, laid out again in the same order, with "help" from the cat. Again. Cats are not good helpers.)
After you lay out your rows, it's time to get out the iron again. Iron each row, pressing the seams in the same direction. This will help when you sew your rows together.

(do this one row at a time, taking them from your pre-laid-out rows, then put the row back where you grabbed it from, facing the right direction. This will help you keep things in order)
Now it's time to sew your rows together. This is a tricky part, particularly if you weren't careful with your 1/4" seams, or with your initial square cutting because your squares won't all be the same size. You want to be sure to line up your seams in each row. DON'T pin all your rows together at once. Go row-by-row - pin 2 rows together, sew them, and add another on as you go. If you pin them all together at once, you'll have a lot of pins sticking out everywhere, and you'll surely get stuck. There's lots of time for that later.

(it's hard to see in this photo, but the seam of the two blue squares lines up with the seam of the yellow squares on the other side. I put the pin on the seam to be sure that if I had to stretch or fold to make the seams match, they stay that way)
Sometimes seams don't line up perfectly. This is annoying, but not a big deal! If you can stretch the fabric a little to make it work, do that. If the mismatch is too big, you can almost pleat the seam to make it work.

(in this instance, the blue square was too big, so I folded it over in a "pleat" so it would look like its edge was a little farther over.)
When you've sewed together the rows, it should look like this, with the seams matching:

(here are 2 rows, now, keep adding on! Keep matching seams!)
After you've finished adding rows, and matching seams, eventually you'll run out of rows to match. Congratulations! You've finished the quilt top! YAAAAAY! Lay it out and look at it. Isn't it pretty?

(yes, it's pretty!)
Ok, enough celebrating. You've still got LOTS of work to do!
Now it's time to make your edging. I usually go back to the fabric store at this point to buy edging instead of buying it up front. There are a few reasons. First, it's important to pick another complementary color for your edging. If it's too bright, busy, or clashey, it'll detract from the quilt you've worked so hard on. It can be hard to know what works until it's all together. Second, you can be absolutely positive of its size once it's done, so you know how much fabric to buy.
I decided to cut my edging to 5.5". This will allow for the 1/4" seam around the outside of the quilt, but also give extra fabric to (PREVIEW ALERT!) attach the front of the quilt to the backing later. If you're using bigger or smaller squares in your quilt, adjust accordingly.
Measure the longest side of your quilt, and (if you're using 5.5" edges), add 11". This is how long your edging will need to be. Cut 4 strips. You can cut them the entire length of the fabric you chose and trim to size later.

(here are 3 pieces of edging. They're all the same length, I trimmed them down after I pinned them to the quilt front)
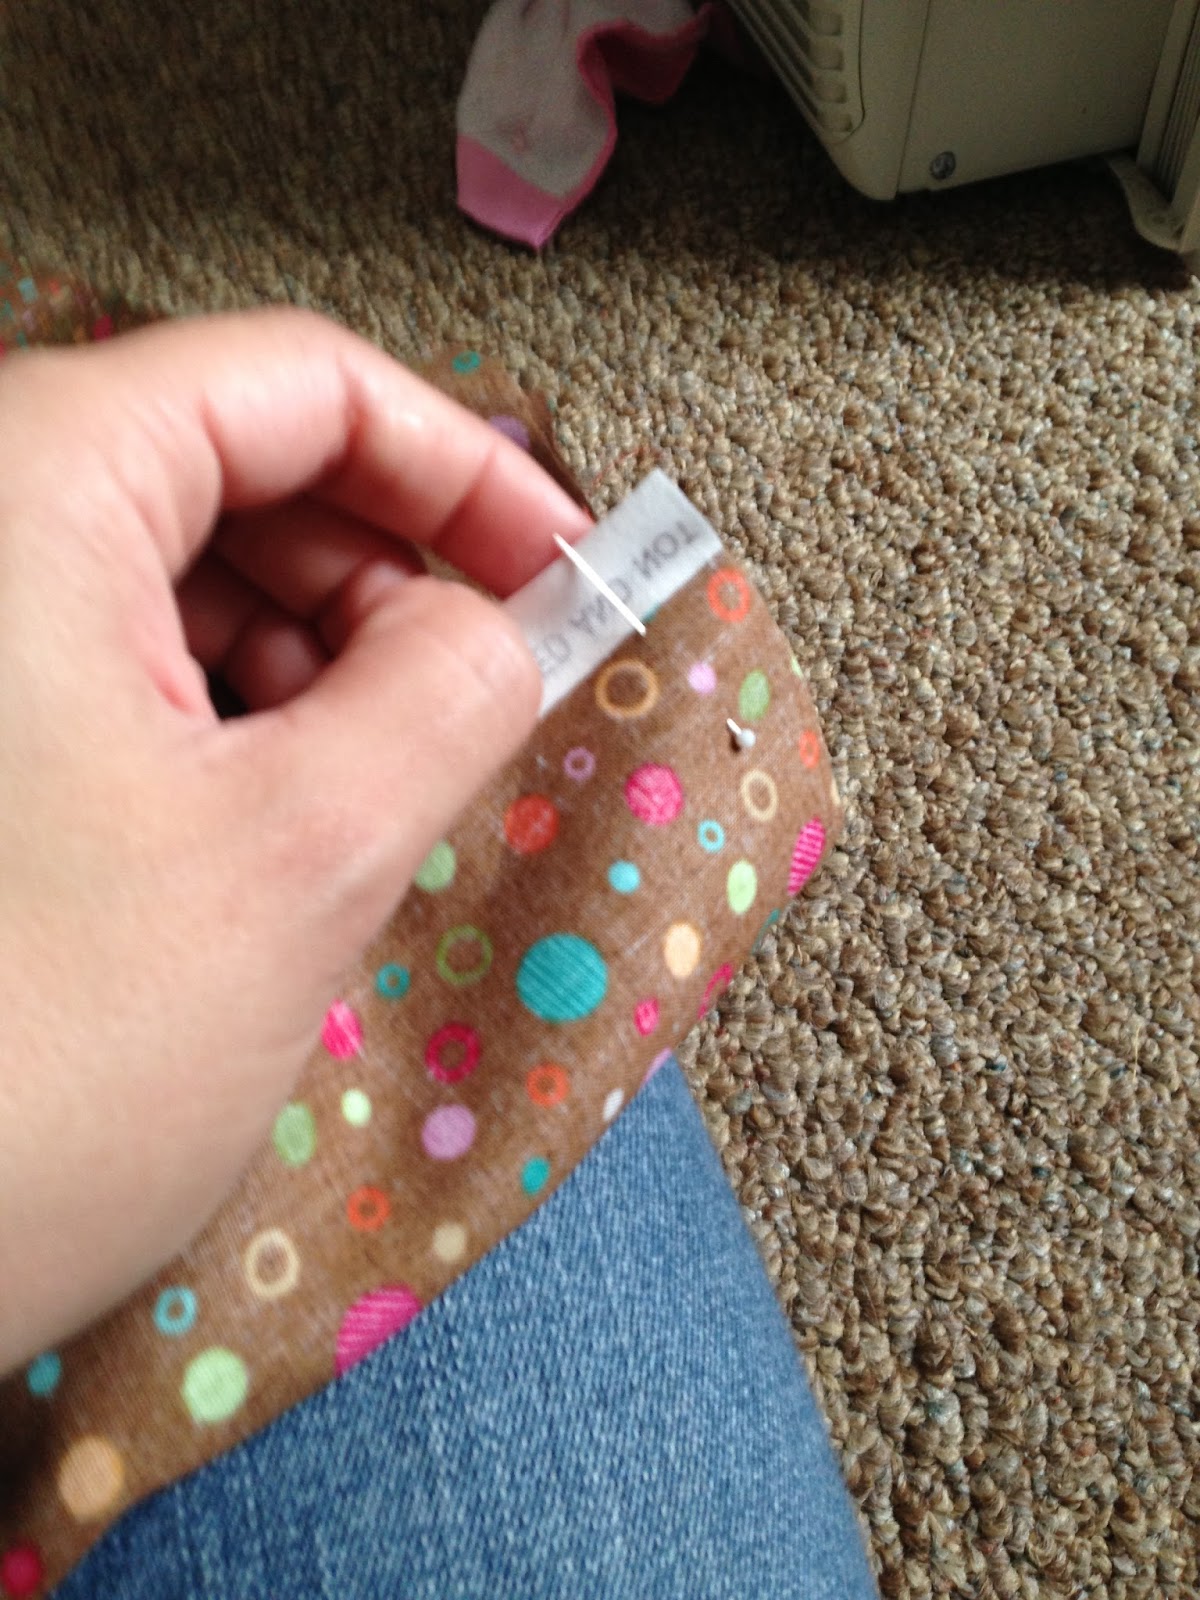
When you're pinning the quilt edging, face the right sides of the fabric together, and then pin. I do the short sides first. I line up one of the ends of the edging with the end of the quilt, then pin at each square seam. When I pin to the end, that's when I cut the edging to fit. Be sure your cut is straight!

(the end of the edging lines up with the end of the quilt. Your first two edges [on opposite sides of the quilt] should look like this)
After you've pinned, sew the edging on to the quilt front using a 1/4" seam. If you'd like, you can do both (opposing) ends at the same time. That is to say, if you're like me and like to do the short side first, you can pin and sew both short sides at the same time. If you want to do one, then the other, feel free, but be sure you do both opposing sides, not abutting sides.
Next, you'll do the long sides. You do this very similarly to the way you did the short sides. Pin the edging to the quilt front with the right sides of the fabric facing each other. This time, though, line up your edging end with the outer edge of the edging you previously sewed on to the quilt front. If you got extra fabric (not a bad idea! You never know when you've mismeasured, and a quarter-yard extra usually isn't that much more expensive), trim the end to match the already attached edging's outer edge:

(the end of the long side [on the left] lines up with the outside of the edge I already sewed on [on top])
Just like with the short sides, you can do both of these at the same time, or you can do them one after the other.
Now you have an even MORE complete quilt front! HOOOORAY! Isn't it even prettier?

(I didn't think it could be, but yes, it IS prettier!)
The cat looks like she's helping now, but she's still not. Because. Cats. Are. Bad. Helpers.
Okay, that celebrating was good and well-deserved. But now, on to the next step.
It's time to do backing and batting. I usually go back to the fabric store again at this point, rather than having bought backing and batting at the beginning, or even when buying edging. It's hard to know how much you'll need until the front is complete and it's hard to know what fabric will look good on the back until you see it all put together.
For backing, you don't have to pick a color that complements the front, but you should pick a color that doesn't totally clash with the edging, since (PREVIEW ALERT!) you'll be folding the edging over and attaching it to the backing. Here's my last quilt, in which the backing hardly coordinated with the front:
.JPG)
(I made this quilt for someone, and bright blue is one of her favorite colors. Doesn't quite match, but doesn't quite matter!)
One thing to remember is that fabric bolts are usually 44" wide, and if you're making a bed-sized quilt, that isn't wide enough. You'll need twice as much fabric as you think you do. Measure the length of your quilt, and then add 5 inches. It's important to have extra backing fabric in case of bunching when you sew the quilt together. My quilt was about 75" long, so I got 2 1/4 yards of backing fabric TIMES 2! My fabric store doesn't cut like that, so I actually just asked for 4 1/2 yards of fabric and cut it in half at home.
I'm going to keep talking about backing, but at this trip to the fabric store you can also buy batting. I'll talk about that separately in a bit. If you want to know now, go to the ** a little lower.
Like I said, my fabric store doesn't cut the same fabric twice, so I ordered 4 1/2 yards of my backing fabric. When I got home, I folded it in half and cut it so I had two pieces of the same fabric that were 2 1/4 yards long.

(I feel annoyed every time I have to do this. It doesn't take that much more time for the fabric store to do this for you, and they have that awesome cutting table with the strip to be sure cuts are straight!)
If you have an ironing board, it's a good idea to iron this fabric out now. If you don't, it's not imperative.
Now you want to sew these two pieces of backing together. Put the long edges together, right sides facing each other, and pin them together. If this is fabric with that funny white edging on one side, you can easily hide that edging in this seam!
(your seam will be big enough that you can hide that white edge. No need to cut it off!)
Sew this together using a 5/8" seam. The width of this fabric will still be much greater than the width of your quilt top, and it saves you from having to trim those annoying edges.
Now you have one big piece of quilt backing fabric. It should be a few inches longer than your quilt top, though it will probably be much wider. Now is a time that you want to iron the seam you just made. You don't have to iron the entire fabric, but even if you don't have an ironing board, do iron the seam. This will make the backing lie flat against the batting, even at the seam. If you don't iron, you could end up with puffy backing where that seam is.

(I didn't iron the whole thing, but I did iron down the seam and any ugly wrinkles that I saw)
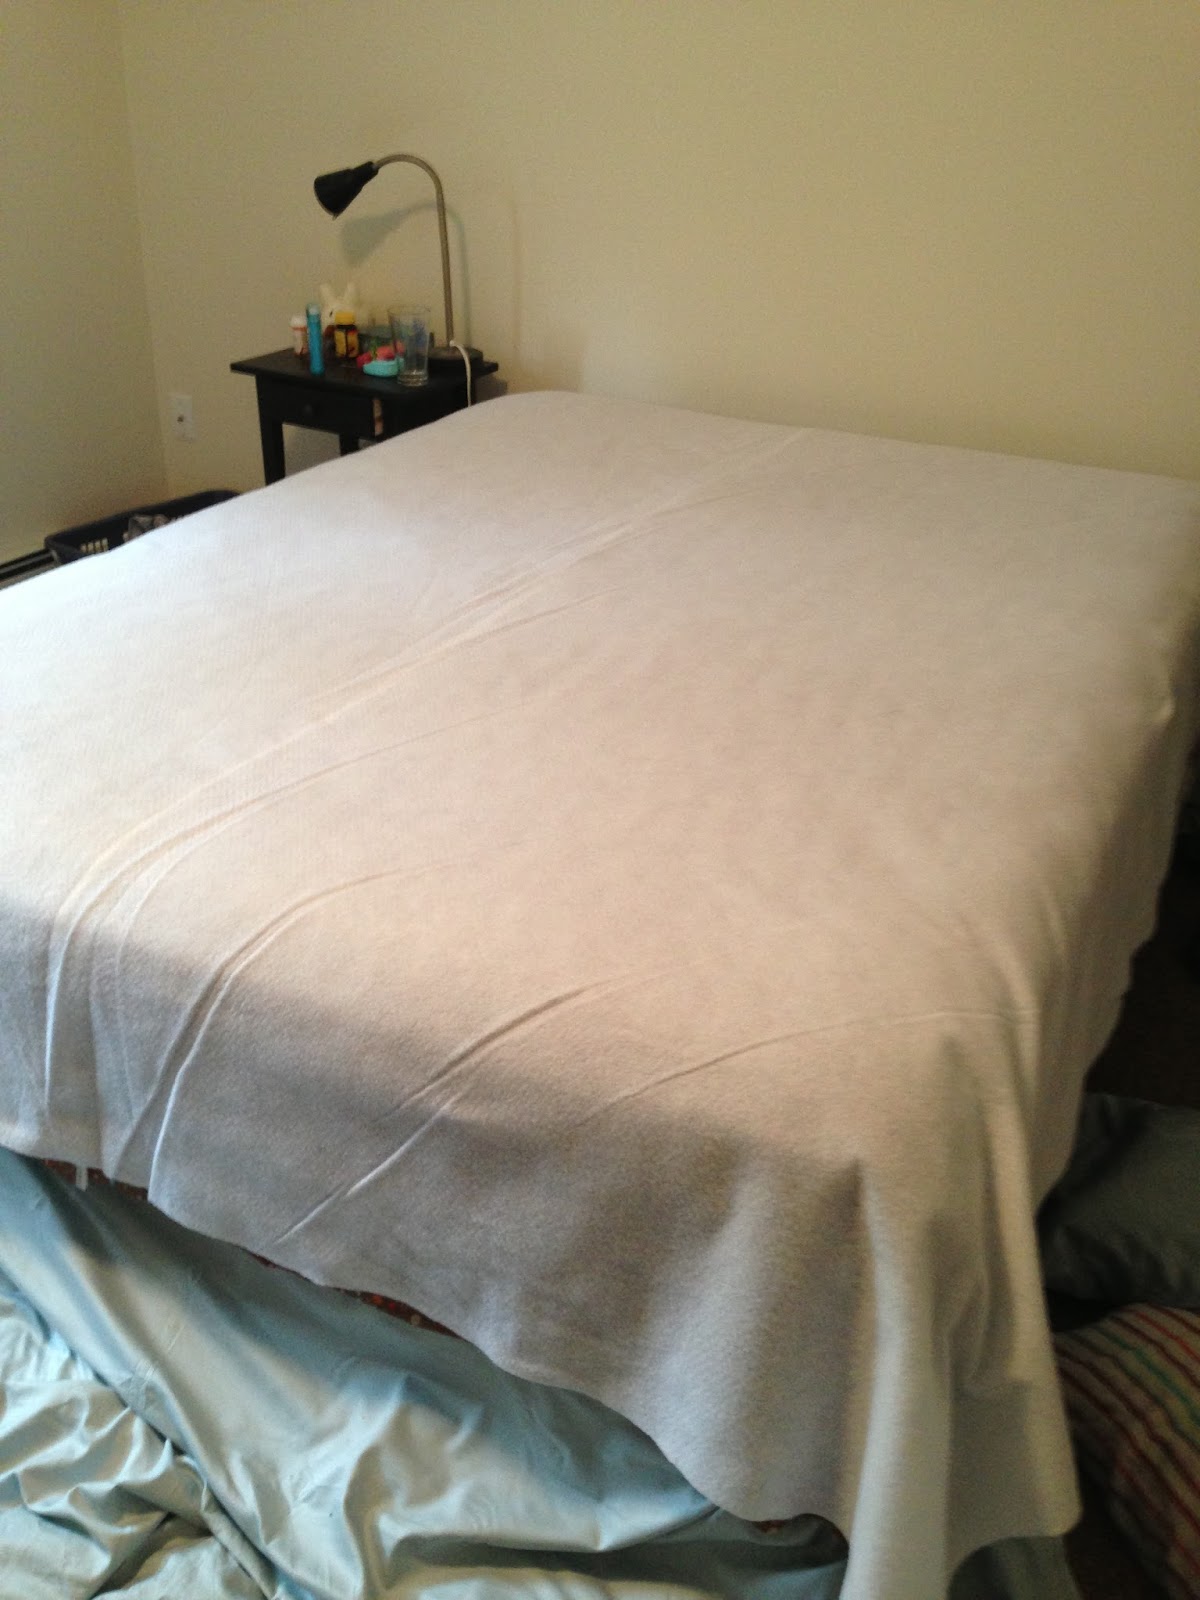
Now is when you need some real space (which I don't have in my apartment). If you live in a mansion, count your blessings. If you've just moved into a house and you have a sewing machine but no furniture, you're in luck! If you live in a small apartment with very little open space, you can use your bed. Lay out the backing on the bed.

(please excuse the fact that you will now be looking at my bed quite a lot. Also, even my bed isn't big enough. Maybe it's time to invest in a king-size??)
**Now I will talk a little about batting. Batting is the filling that goes between the backing and the quilt front. There are LOTS of different kinds of batting, and I don't know a ton about it. The things I think are most important when it comes to batting is the loft, which is how thick and poofy it is, the drape, which is how it will lie when you put the blanket down, and - maybe most important - the quilting distance, which is how far apart you can sew the quilt together. There are lots of websites that can give you better information, and your fabric store should also be able to help you pick one that works for you.
I like low loft, and a wider quilting distance. I picked Soft & Bright needled polyester batting. This gave me a 10" quilting distance and it was relatively thin. What you pick depends on what you want!
So, you've laid your backing down somewhere big.

(remember this?)
Next, you want to lay your batting right on top of it. Smooth out any wrinkles that are in both your backing and your batting.
(it looks like ghost-quilt. Don't worry. It's just batting)
Then, lay your quilt top over both. Try to center it so you've got extra fabric sticking out on all sides.

(it's not a great picture, but you can see the batting sticking out under the quilt top. It's like that all the way around)
Now comes the start of the most annoying part of making a quilt. You need to pin the pieces all together. You can use safety pins, which won't prick you or make you question your sanity and decision-making skills later, or you can use straight pins (you can probably deduce what using straight pins WILL make you do later...). I chose straight pins because I kept forgetting to buy safety pins.
There are lots of different ways to pin this down. I found that doing the edges first was easier because it allowed me to pull the fabric tight to begin with. I pinned around the entire perimeter of the INSIDE of the quilt edging, pulling all 3 of the fabrics tight as I went along. I put one pin in each seam along the edges.

(don't pin the outside edges yet. There's still work to be done there.)
Next, you want to pin the inside squares. You don't need to pin every square, but you should pin every other. It'll end up looking like a pin/non-pin checkerboard. The fabric should already be tight from pinning the outside edges, but double check with every pin you put in.

(it's hard to see, but you can see the pin heads in the blues. They're staggered on each row of squares)
Now it's time to sew the layers together!
Bring your quilt to the sewing machine and sew along the seam of one of the INSIDE edges of the edging, where the edging meets the patchwork. This is a straight line, starting from the inside edge of the top of the quilt edging. It goes straight down the side of the quilt to the inside edge of the bottom of the quilt. Bottom line, you don't want to actually sew any of the edging yet.

(start right at the corner, but don't sew on the edging yet. Go straight down on the seam, and stop in the same place at the bottom.)
Now, depending on your quilting distance, you'll have to figure out how many squares you can skip, if any, when continuing to sew. I was able to sew down every other seam because my quilting distance was 10". If it was 5", I'd have to sew down every seam.
If you used straight pins, be prepared to be perpetually pricked. It's not fun, but it's cheap and maybe you'll feel like a tough guy when you're done.
When you're sewing the next seam, you'll notice that the fabric is starting to get bunched up on the inside of the sewing machine. The best way to combat this is to roll the fabric you've already sewed.

(just roll it up on the inside, which will make it easier to feed through and will keep it from bunching and getting in the way. It also keeps the fabric pulled tighter, which will help with the puffiness of the layers)
If it's starting to get hard to push the fabric through, make sure you're moving ALL of the fabric while you sew. There's a lot of blanket here, and you need to guide what's going under the needle, but move what's on the outside and inside of the sewing machine.

(again, a giant house would make this easier! If you can move your sewing table away from a wall during this part, it will help you. Also, if your sewing table is more than 2 feet wide.)
You will sew down every other square (or whatever your quilting distance is) in one direction, then you have to rotate the quilt ninety degrees and do the same thing in the other direction. DON'T FLIP THE QUILT OVER! Use the seams you've already made on the patchwork side as guides. You're making squares on the backing with your long lines along the seams on the front. Remember, you're still working WITHIN the edging!

(when you're done going up-and-down and side-to-side, the back will look something like this, with quilted squares!)
Time for another mini-celebration! You can take all those darned pins out! You can also probably take all your band-aids off (the bleeding has surely stopped by now!). You're SO CLOSE to being finished!
The last thing you have to do is trim the batting down, swoop the edging around, and sew the edging to the backing. Start by laying out your quilt again, with the patchwork side down. Trim the backing and batting so it's about an inch shorter than the patchwork side. I generally do this one side at a time, mostly due to space constraints, but you can definitely trim the whole thing at once.

(the trim doesn't have to be perfectly straight. You'll be covering it with the edging. Be careful not to cut the edging while you're cutting the backing, or you'll have to make it even smaller!)
It doesn't matter which side you start on here. You want to fold the edging under twice to hide the rough cut edge.

(you can see how the rough-cut edge lines up with the backing, and then it's folded over again to hide that edge)
Now you want to pin that folded edge to the backing. You can do this all the way around at once, or one side at a time. Be sure to square your corners!

(fold and pin it over evenly all the way around)
Last, you'll sew the edge to the back! Sew it close to the side of the edging that's closest to the backing. I sewed right to the edge. You're essentially done, but you should trim any loose threads right up to the quilt. Do trim them with scissors, and not by pulling them. You could unravel things or pull things off-kilter if you yank threads.
Now? CELEBRATE!! YOU FINISHED YOUR QUILT!!
.JPG)
(That cat. No help, and all the enjoyment!)
If you give your quilt as a gift, be sure to tell them it's homemade! That way, any mistakes or seams that don't line up will make sense, and nobody will ask you why something looks a certain way. And, if they do, you can politely inform them that you will never make them a beautiful, thoughtful, comfortable gift again and they can stick it in their ear.
Happy quilting!